Day 1 of My End-to-End ML Project
(Laying the Foundation Right)
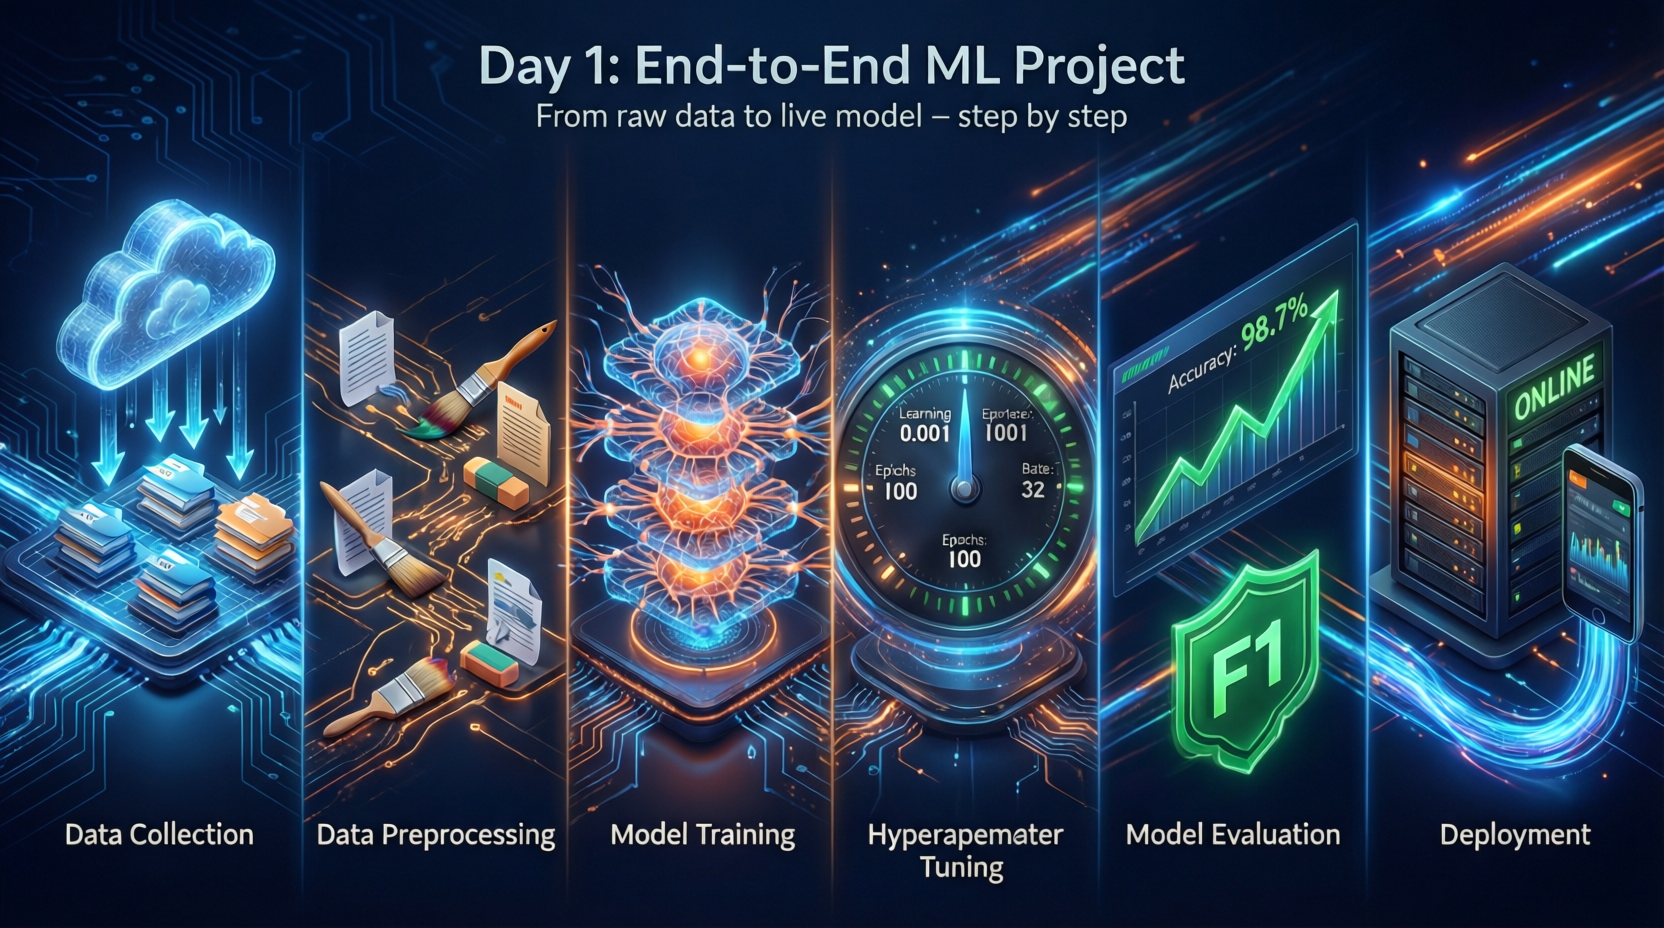
Today marks the beginning of an exciting journey: building a production-ready machine learning system from scratch. No notebooks flying around. No dependency chaos. Just clean, reproducible engineering practices from Day 1. Here’s what I accomplished—and why each step matters more than you might think.
What Exactly Is an End-to-End ML Project?
An end-to-end (E2E) machine learning project isn’t just training a model and calling it a day. It’s a complete lifecycle that takes you from raw data to a deployed system delivering real-world value. Think of it as building a factory—not just crafting a single widget.
A true E2E ML pipeline spans three critical phases:
| Phase | Key Activities |
|---|---|
| Prepare | Problem framing, data collection, preprocessing, feature engineering |
| Experiment | Model training, hyperparameter tuning, validation, evaluation |
| Deploy | Model packaging, API creation, monitoring, retraining pipelines |
Skipping foundational setup (like today’s work) is like building a factory on sand. Let’s fix that.
Virtual Environments: Your Project’s Personal Bubble
A virtual environment is an isolated Python workspace with its own interpreter and packages—completely separate from your system Python and other projects. Why does this matter?
- Prevent dependency conflicts (Project A needs pandas 1.5; Project B needs 2.0? No problem.)
- Ensure reproducibility across machines
- Avoid “but it works on my machine” syndrome
Four Ways to Create a Virtual Environment
# Method 1: venv (built-in, Python 3.3+)
python -m venv venv
source venv/bin/activate  # Linux/Mac
venv\Scripts\activate     # Windows

# Method 2: virtualenv (third-party, more features)
pip install virtualenv
virtualenv venv

# Method 3: conda (great for data science, handles non-Python deps)
conda create -n myproject python=3.10
conda activate myproject

# Method 4: poetry (modern favorite—handles env + packaging together)
poetry new myproject
cd myproject
poetry install
Best practice: One virtual environment per project. Always.
setup.py: The Smart Package Installer (With Dynamic Requirements)
Today I implemented a production-grade setup.py that dynamically loads dependencies from requirements.txt—a pattern widely used in professional ML projects. Here’s my implementation:
# setup.py
from setuptools import setup, find_packages
from typing import List

HYPEN_E_DOT = '-e .'

def get_requirements(file_path: str) -> List[str]:
    '''
    This function returns the list of requirements from requirements.txt
    Handles the editable install flag '-e .' gracefully
    '''
    requirements = []
    with open(file_path) as file_obj:
        requirements = file_obj.readlines()

    # Clean newline characters
    requirements = [req.replace("\n", "") for req in requirements]

    # Remove editable install flag if present (used during development)
    if HYPEN_E_DOT in requirements:
        requirements.remove(HYPEN_E_DOT)

    return requirements

setup(
    name='mlproject',
    version='0.0.1',
    description='First ml project',
    author='Dipak Pulami Magar',
    author_email='dpm.it24800@gmail.com',
    packages=find_packages(),  # Automatically discovers packages in project
    install_requires=get_requirements('requirements.txt')
)
And my requirements.txt:
# requirements.txt
numpy
pandas
seaborn
# -e .
Why This Pattern Matters
- Single source of truth: Dependencies live in
requirements.txt, not duplicated insetup.py -
Editable install support: The
-e .flag (commented out in requirements.txt) enables development mode:pip install -e .This installs your package in “editable” mode—changes to source code reflect immediately without reinstalling. Critical for rapid iteration during development!
- Clean separation:
requirements.txtfor development dependencies;setup.pyfor production packaging
Pro tip: Never commit
-e .uncommented in requirements.txt—it causes installation errors in production environments. That’s why myget_requirements()function explicitly filters it out.
GitHub Workflow: Your Project’s Central Nervous System
A GitHub repository is more than cloud storage—it’s your project’s version-controlled heartbeat. It tracks every change, enables collaboration, and integrates with CI/CD pipelines.
The Core Git Cycle I Executed Today
# 1. Create repo on GitHub (via web UI)
# 2. Clone to local machine
git clone https://github.com/dpm/ml-project.git
cd ml-project

# 3. Set up virtual environment & project structure
virtualenv venv

# 4. CRITICAL: Create .gitignore BEFORE committing
cat > .gitignore << EOF
# Python
__pycache__/
*.pyc
venv/
.env
.venv/

# Data
*.csv
*.xlsx
data/
models/

# IDE
.vscode/
.idea/
EOF

# 5. Create setup.py and requirements.txt with content above

# 6. Stage, commit, and push
git add .
git commit -m "chore: initial project setup with setup.py and requirements"
git push origin main
Golden rule: Never commit your virtual environment (venv/) or raw data to Git. Instead:
pip freeze > requirements.txt  # After installing dependencies
git add requirements.txt
git commit -m "chore: freeze dependencies for reproducibility"
Sneak Peek: Tomorrow’s Mission (Day 2)
Tomorrow I’ll build the project’s nervous system—robust error handling and observability:
src/
└── pipeline/
    ├── __init__.py
    ├── logger.py      # Custom logging configuration with timestamps & levels
    └── exception.py   # Custom exception handling with error tracebacks
Why start with logging and exceptions before data loading? Because in production ML:
- Visibility > Guessing (“Why did training fail at 3 AM?”)
- Resilience > Fragility (“One bad row shouldn’t crash the entire pipeline”)
Production systems fail differently than notebooks—they fail silently, at scale, and at 2 AM. Tomorrow’s work ensures we see failures coming and diagnose them in seconds, not hours.
Why Day 1 Setup Compounds
Today wasn’t “just setup.” It was architectural decision-making that compounds:
| Today’s Choice | Tomorrow’s Benefit | Month-Later Impact |
|---|---|---|
| Virtual environment | No dependency hell during experimentation | Seamless onboarding for new team members |
Dynamic setup.py |
One command to install entire project | CI/CD pipelines work on first try |
| Git hygiene | Clean commit history | Effortless rollback when experiments fail |
Editable install (-e .) |
Instant code reflection during dev | Faster iteration cycles = more experiments |
These choices compound. A project with solid foundations scales gracefully. One with technical debt from Day 1 becomes a maintenance nightmare by Day 30.
Day 1 Checklist Complete
- GitHub repository created and cloned
- Virtual environment configured (
venv/) .gitignorewith Python/data/IDE patternsrequirements.txtwith core dependencies- Production-ready
setup.pywith dynamic requirements loading - First commit pushed with clean history
Follow my end-to-end ML journey: GitHub Repo Link
Day 1 complete. Foundation laid.
Tomorrow: building the nervous system (logger.py + exception.py).
Key Takeaways:
- End-to-end ML = full lifecycle engineering, not just modeling
- Virtual environments are non-negotiable for reproducibility
- Smart
setup.pypatterns (dynamic requirements +-e .handling) separate hobby projects from production systems - Git hygiene from Day 1 prevents future headaches
- Infrastructure isn’t overhead—it’s force multiplication for your ML work
What’s your Day 1 ritual for ML projects? Share your setup patterns below!